
Playground Passport
What is Playground Passport? To put it simply, it’s a DIY playground tracking journal. The template was created with accessibility in mind so you can print and assemble from home. All you need is a printer, 8.5x11 paper, and a stapler.
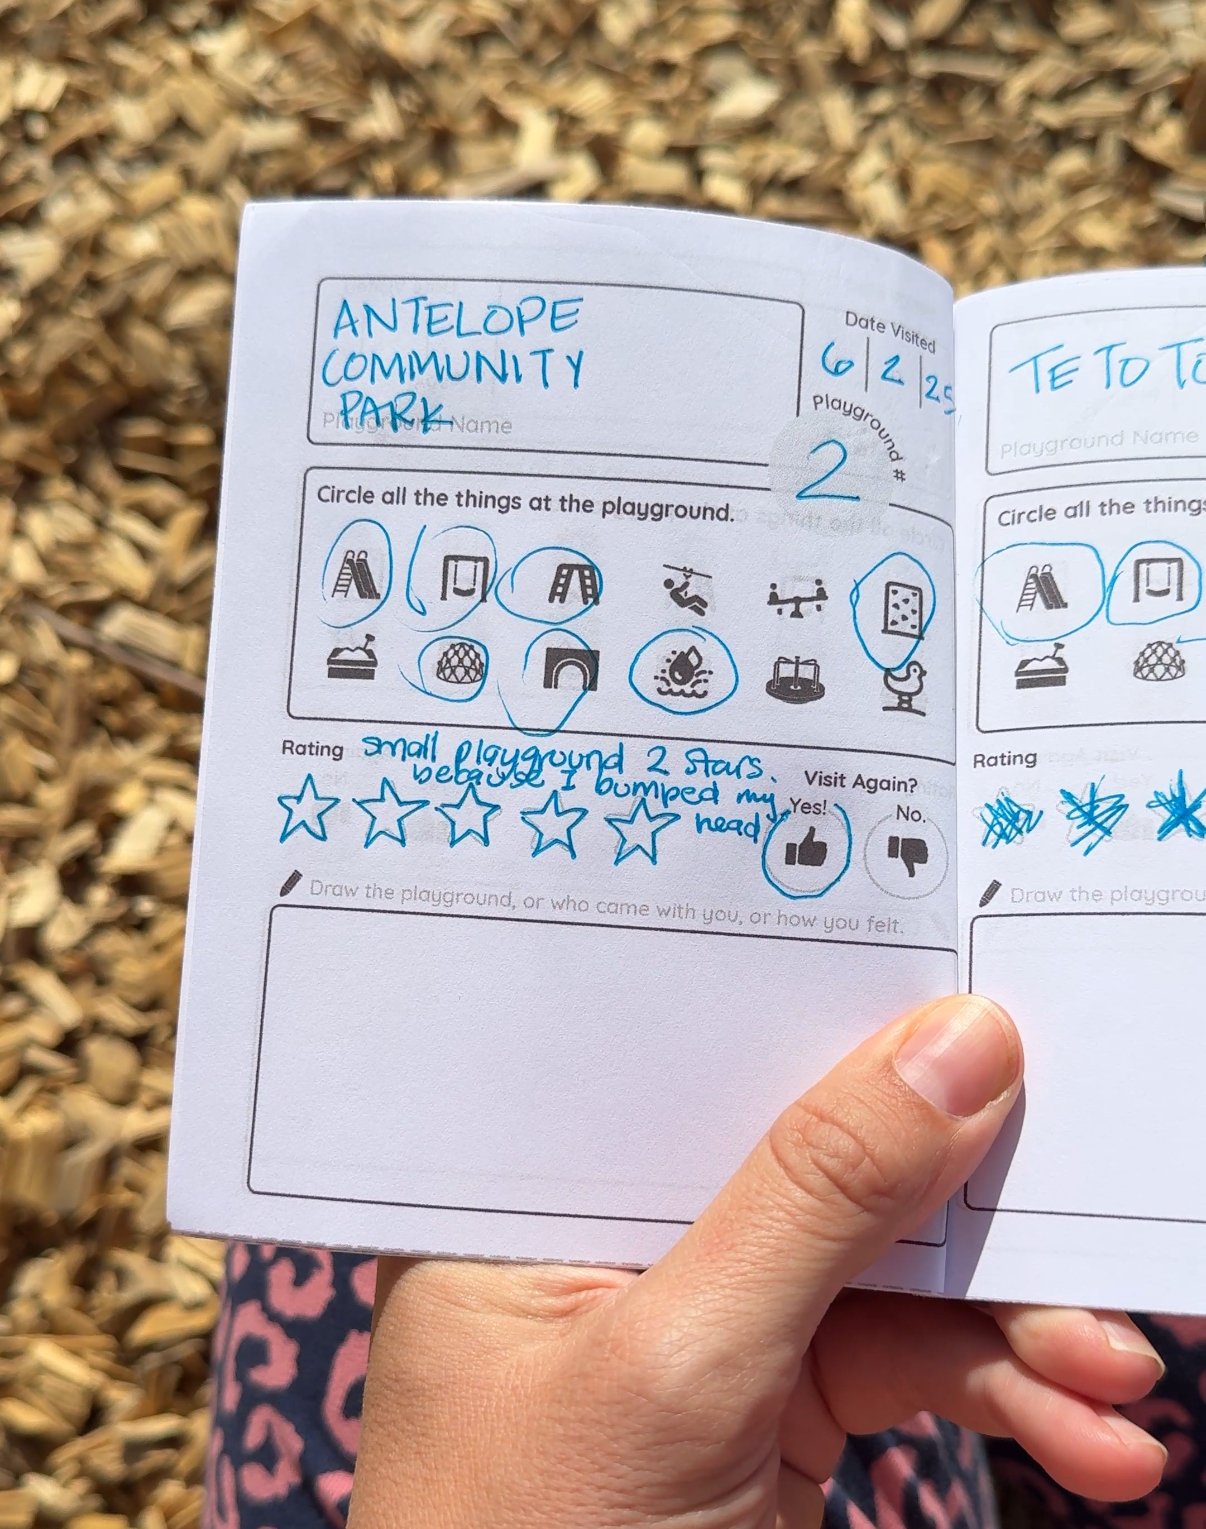
Tested and approved by my 5-year-old daughter, the Playground Passport was designed with beginner scribes and writers in mind. With spacious writing areas, there is plenty of room for writing larger letters.
Intentionally simplified, yet engaging tracking pages that will get your kids excited about exploring playgrounds!


Instructions
Step 1 - Download
Download the Playground Passport printable.
Step 2 - Print the Cover & Intro Pages
This is muy importante. Start with printing ONLY Page 1 & 2 DOUBLE SIDED. Page 2 needs to be printed on the back of Page 1. Do your best to make sure that the face the same direction. I know for some that is easier said than done.
It might mean printing 1 page at a time and then reinserting page 1, flipped over to print page 2 if you don’t have a double sided printing printer.
Step 3 - Print the Tracking Pages
The tracking pages are what I like to call the guts or the meat of the Playground Passport. I suggest printing Page 3, double sided uses 3-6 pieces of paper.
Step 4 - Cut the pages
On each page you will see a dashed line in the middle of the page. Cut every page in half along the dashed lines
Step 5 - Fold
Fold all the half sheets in half.
Step 6 - Nest and Staple
With the cover on the bottom/outside nest the intro pages in and then all the tracking pages with in the intro pages. Fold all the pages in half and then staple on the folded edge. Two staples is usually sufficient. I suggest stapling 2 staples more towards the center and not so much at the corner.
Step 7 - Enjoy and Track Playgrounds
Enjoy your new Playground Passport and tag me on instagram @colormenorcal when you are exploring a new playground and recording your findings!
Peek at the Playground Passport

